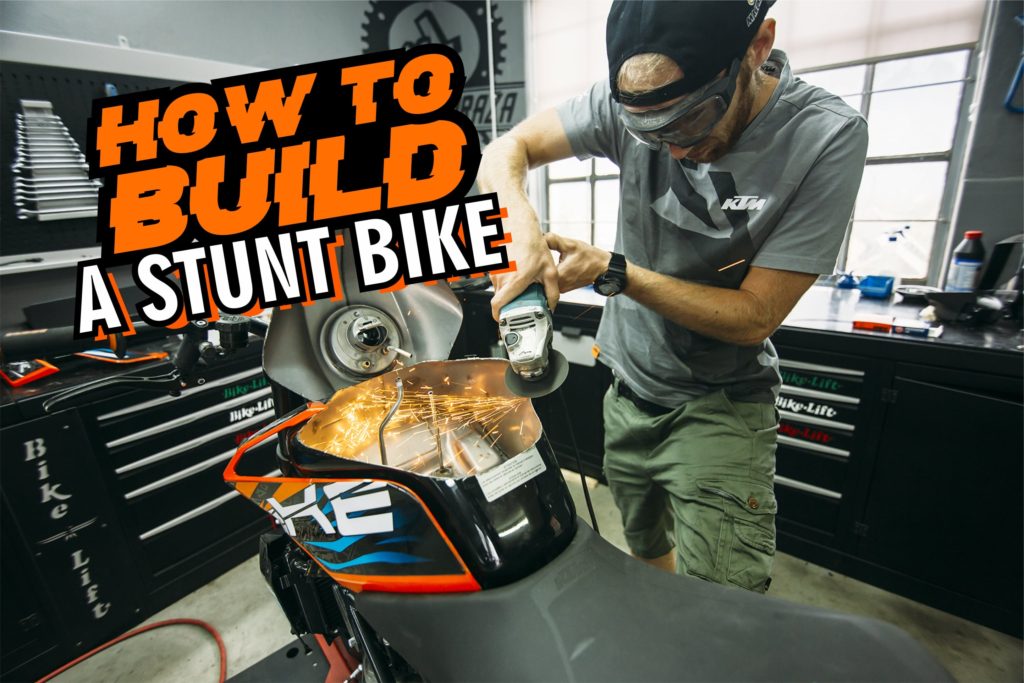
There has been tons of questions on how to get into stunt riding and how to prepare a stunt bike. I made a few vlogs about how I build mine but never a full, step by step build off.
Since stunt riding is an extreme sport, my suggestion is always to learn tricks step by step, which also applies to the build off.
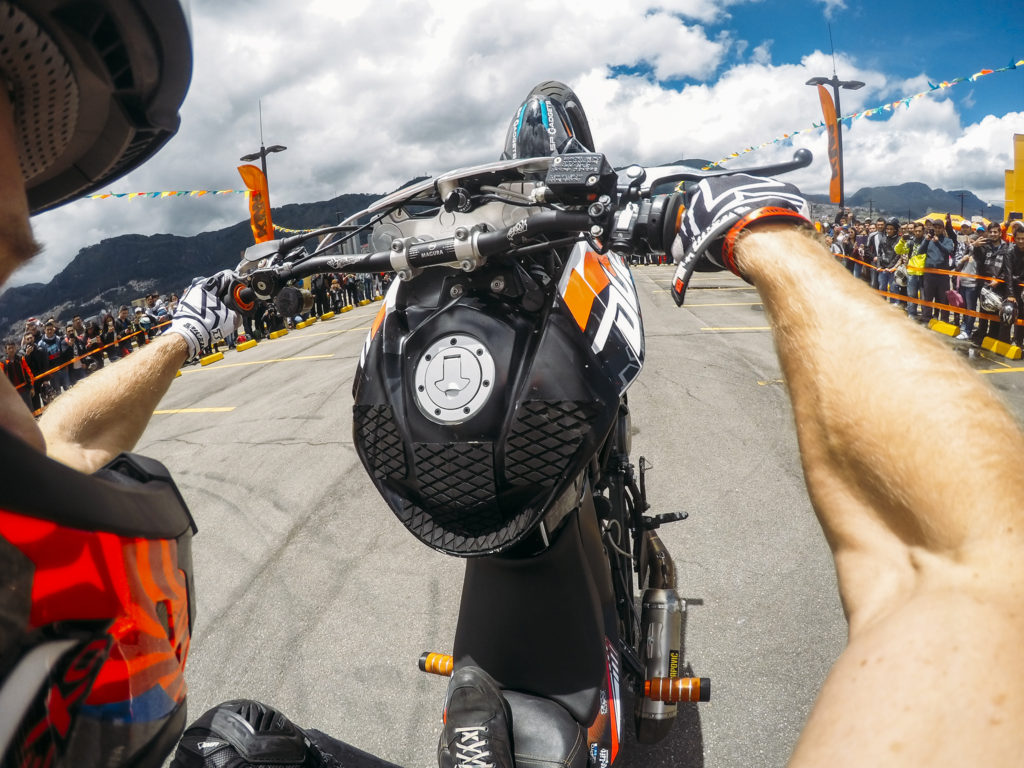
Stunt riding is also the cheapest motorsport that you can be a part of. No need for high power and high tech racing parts to start.
I have divided the build into three stages (1 -amateur, 2 – circle master, 3 – stuntrider).
HOW TO START
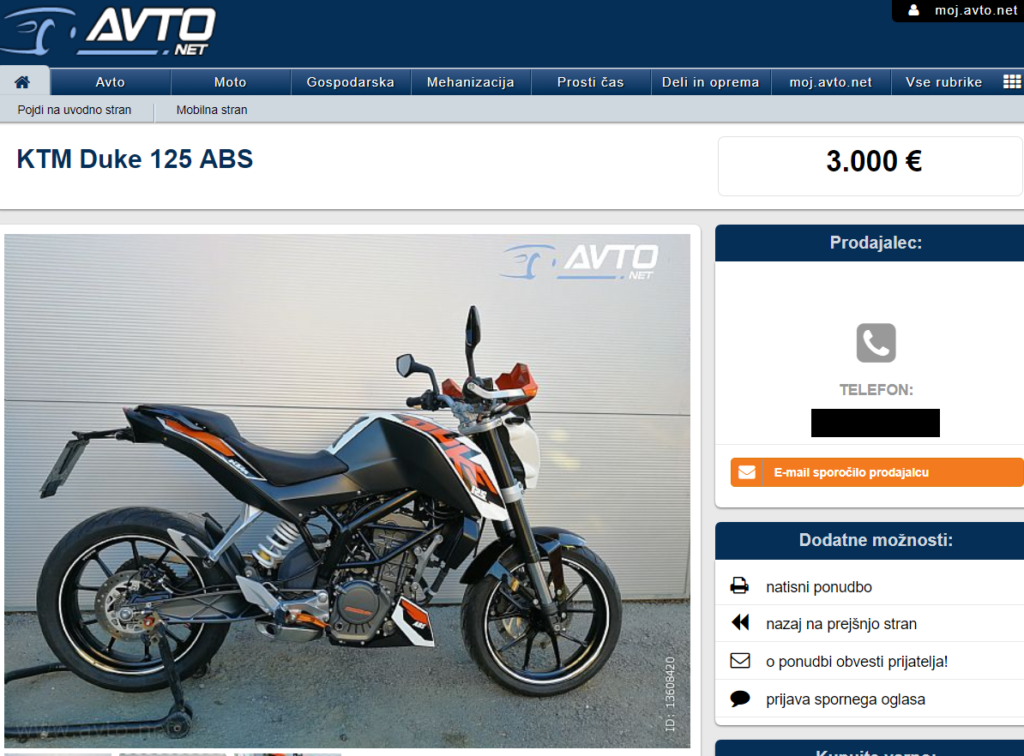
First of all, you will need a bike, it can be one from the local online second hand bike page (Craigslist, Mobile.de, etc.) or if you have some extra cash go with a new one.
I will use the Duke 125 as a base, you can do the same with the 200, 250, 390 or 690 Duke version.
STAGE 1
Amateur Stunt Mode
As you are starting with stunt riding, the first tricks which you will need to learn are the wheelies, stoppies, rolling burnouts and other basic tricks.
You can check out my vlogs where I show you how to learn a few of the basic tricks:
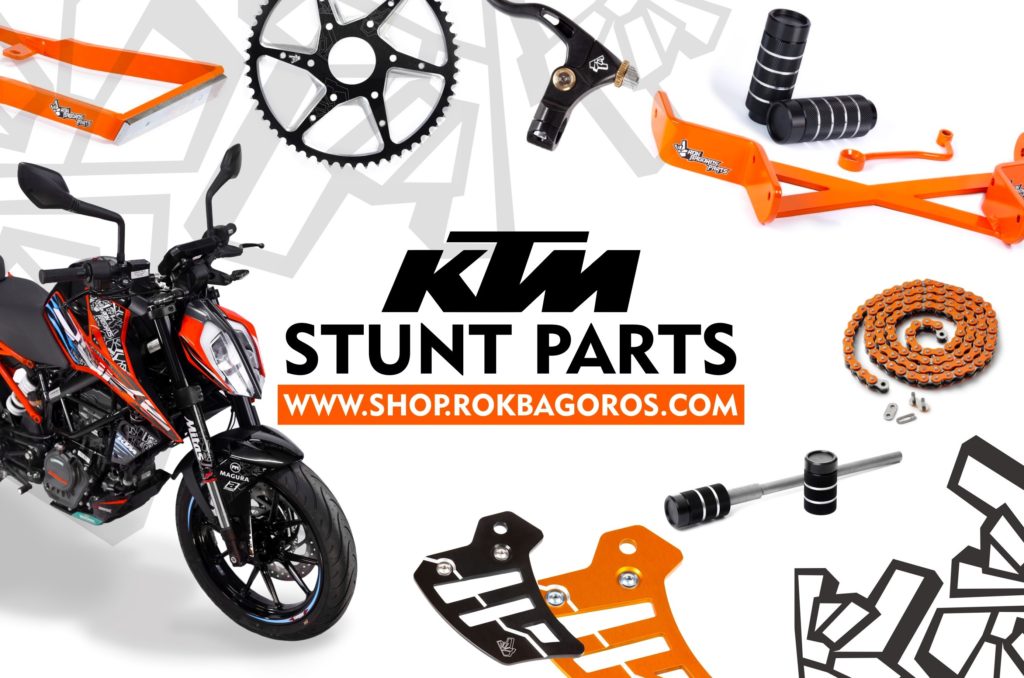
The mods that you need for at the Stage 1 are:
THE CRASH CAGE
It is one of the most important pieces on the stunt bike and will be even more important in the later stages. You can get it at your local KTM dealer.


THE WHEELIE BAR
The wheelie bar will make your wheelies easier, when you step on the wheelie bar with one leg and with the other, you cover the foot brake. With weight on the rear part of the bike it will make the pick-up much easier. On top of that, it protects the back of the bike if you crash.

Or a newer Duke model:
STAGE 2
Circle Master
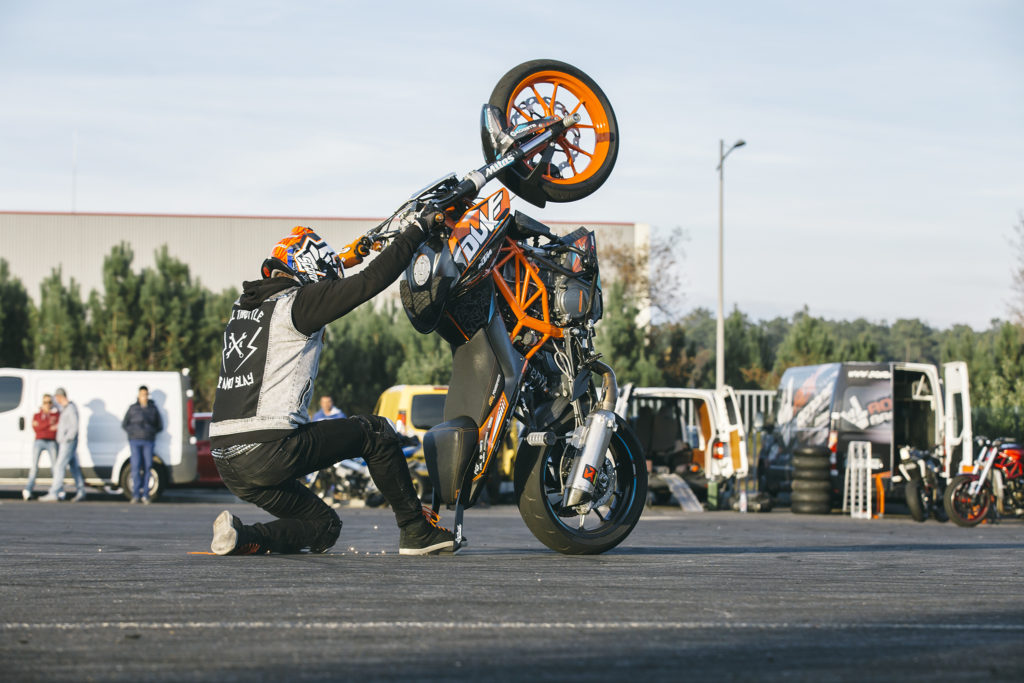
That’s the stage when you have mastered the wheelie ballance and start to learn the circle wheelies, 180 stoppies, acrobatic tricks, etc. I don’t want to scare you at this point, but this is the reality – all those tricks are the next level ones where you will crash, a lot, at low speed. That why it is cruical to add more protection parts on your bike.
The parts that you need to add at this stage, will protect your engine cover and plastics. Besides protecting the bike, you will need to add more stepping options where you can put your feet to catch the ballance and add more trick options. And also, for steady wheelie circles the transmision ratio needs to be changed.
Based on the information above, the first crucial part is the subcage:
Or an Adjustable for the newer model:
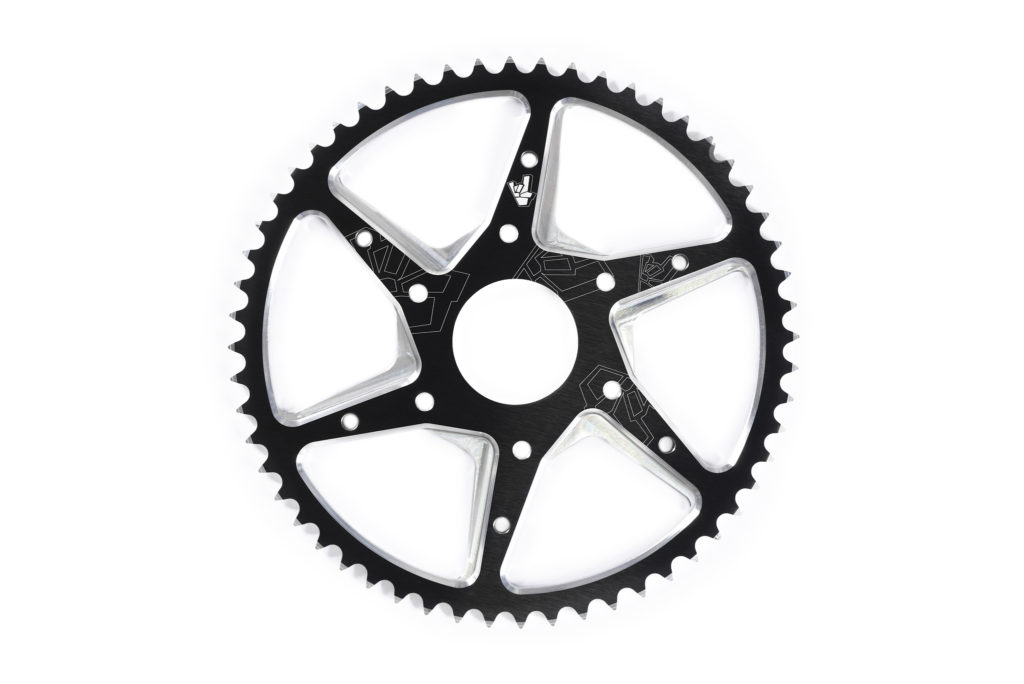
The next important thing is the gear ratio. Trough the years I found a very good ballance between jumpy throttle response and not responsive enough.
So the 56T rear sprocket will do the job on your Duke 125, 200, 250 or 390. Also, when you go for a big sprocket like this, you need to switch the chain sprocket for a longer one.
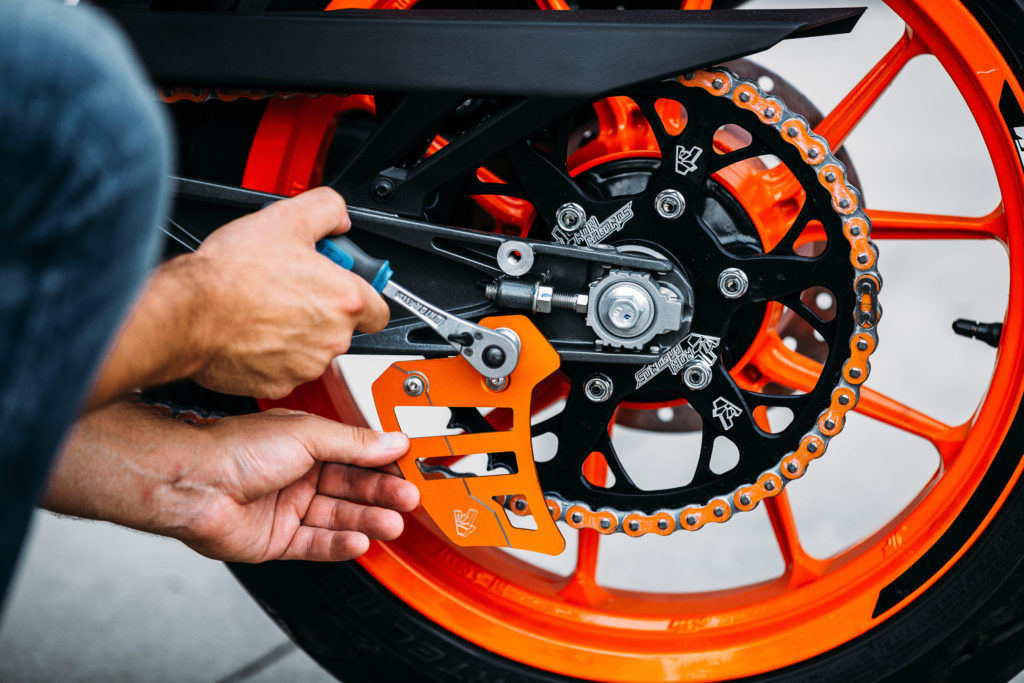
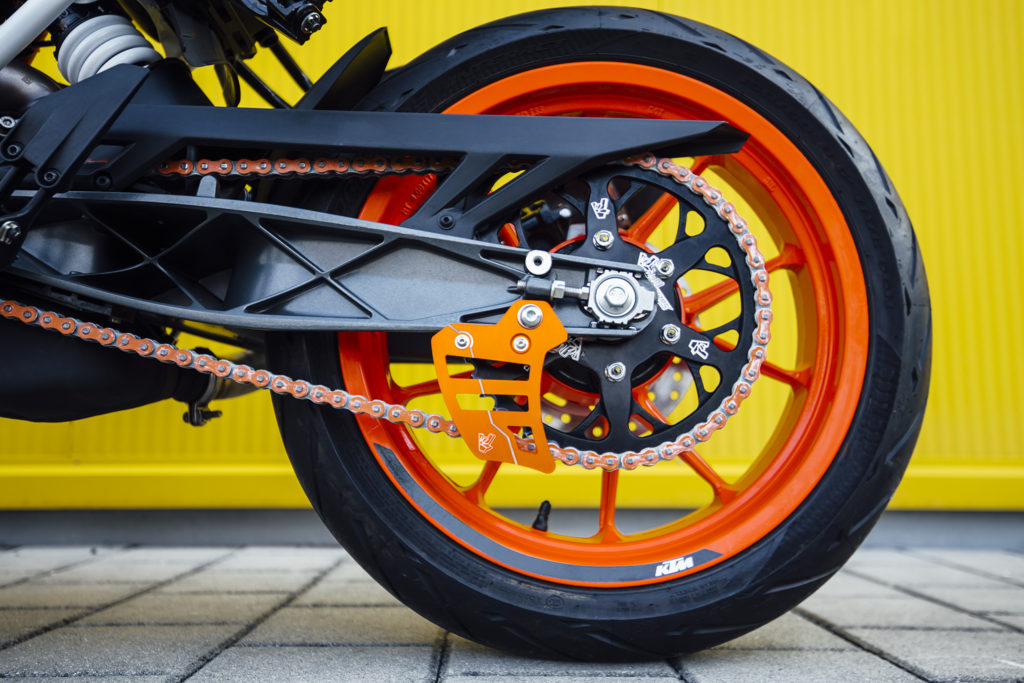
IMPORTANT to know!
When you mount big sprockets on any kind of stunt bike, don’t forget about the TOE GUARD.
In case of a weird crash (which happen a lot if you stuntride), your fingers or hand can get stuck between the sprocket and the chain. To prevent a bad injury, you need to protect that spot with the TOE GUARD.
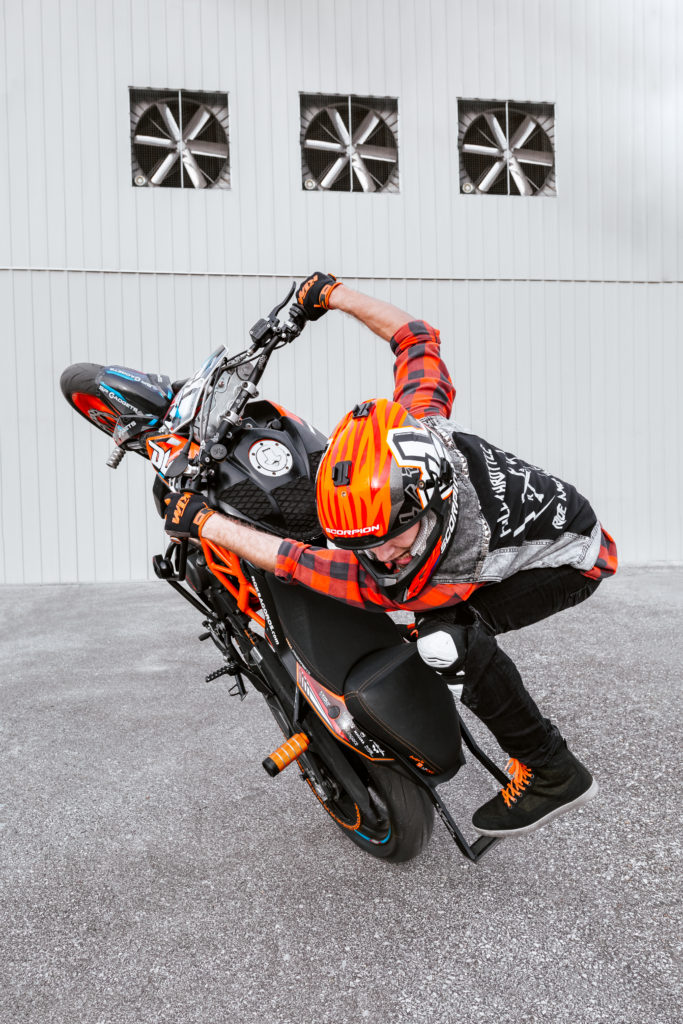
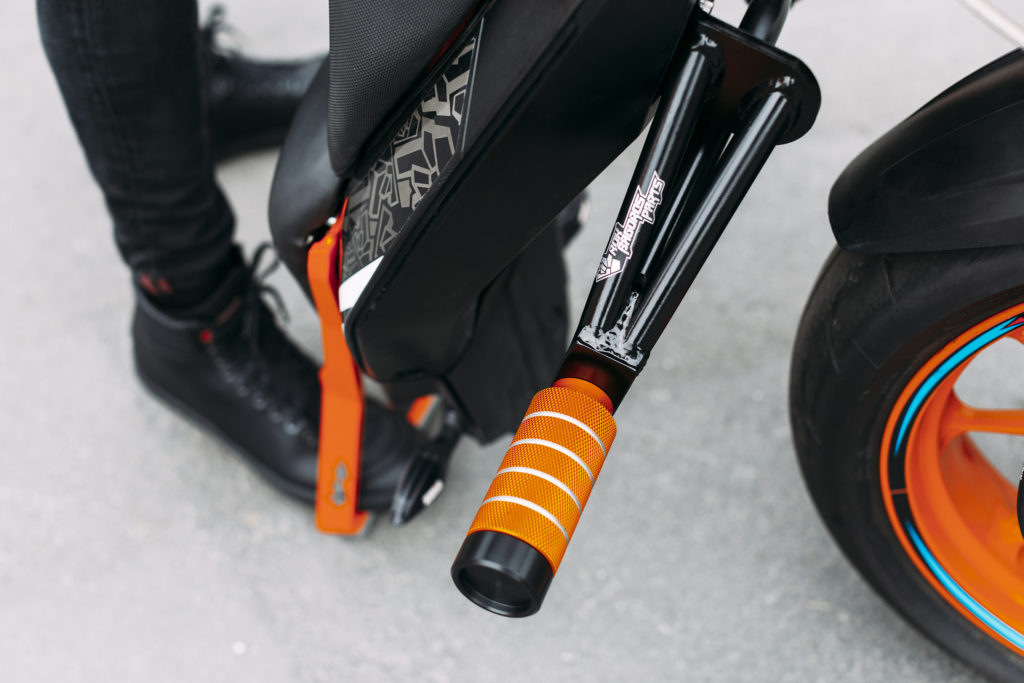
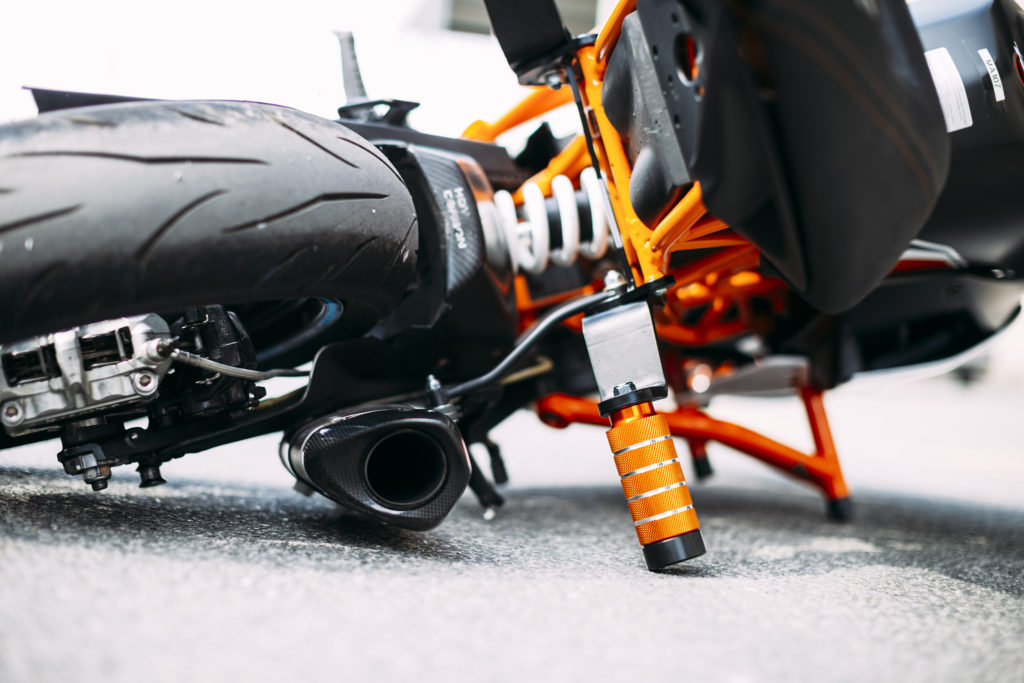
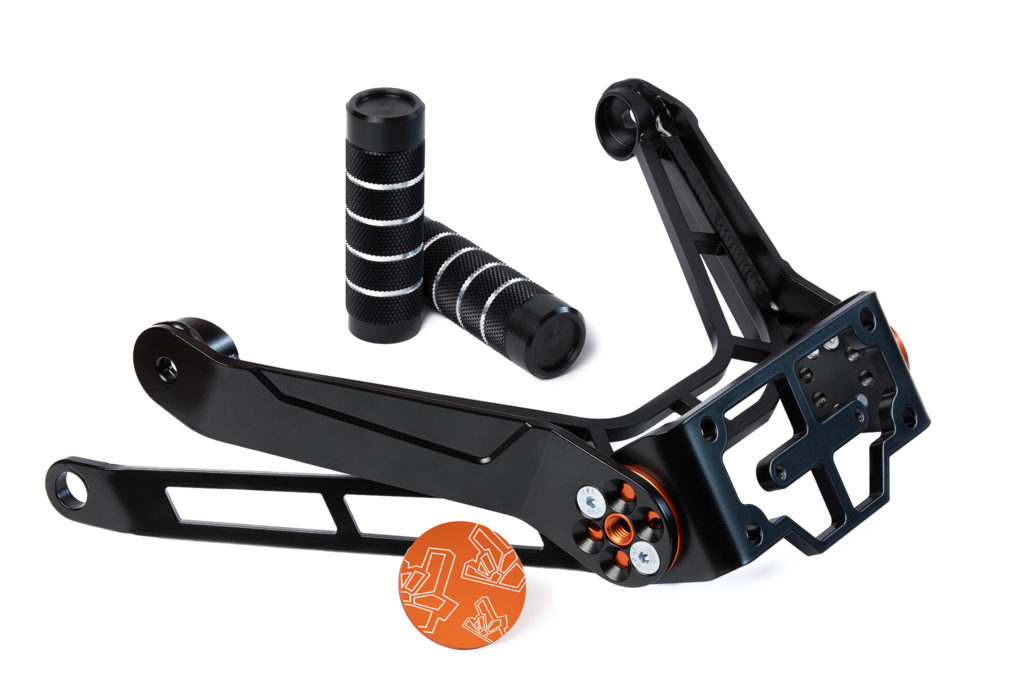
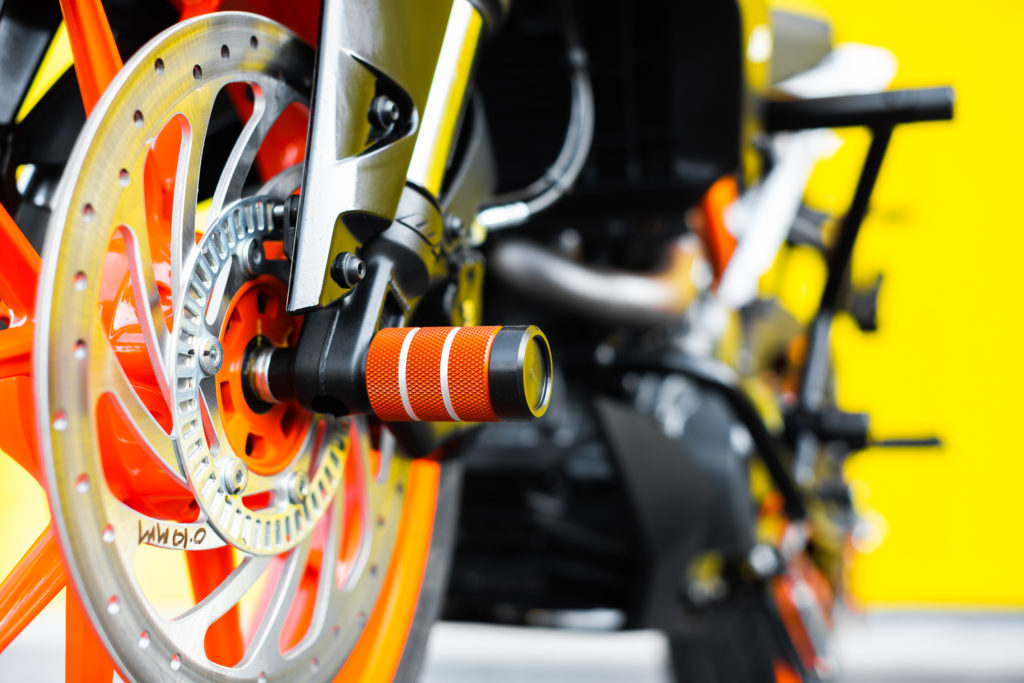
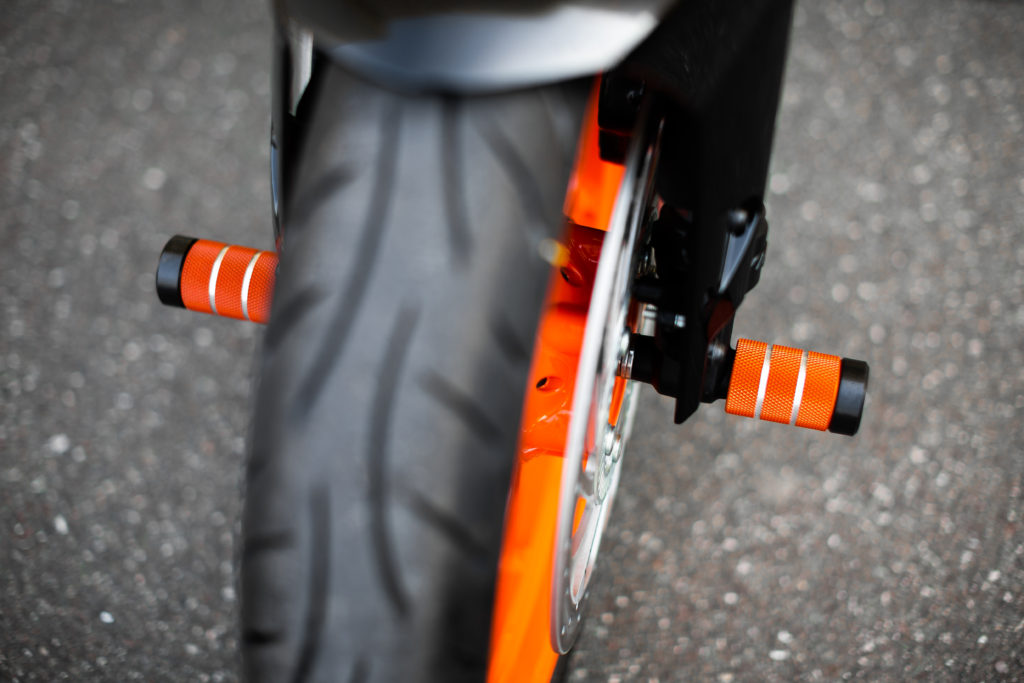
Another cool feature to have at Stage2 are the front footpegs, which will protect your front forks and brake unit, but not only that – it will allow you to step on them and to learn some acrobatic tricks or it gives your rolling burnouts more options when you step with one of your legs on the front peg.
STAGE 3
The Stuntrider
When you arrive at this point, it is time to add some PRO level parts to your stunt bike that are yet missing. The bike is already protected from Stage 2, so here are the missing parts that will make your bike a complete KTM stunt Duke:
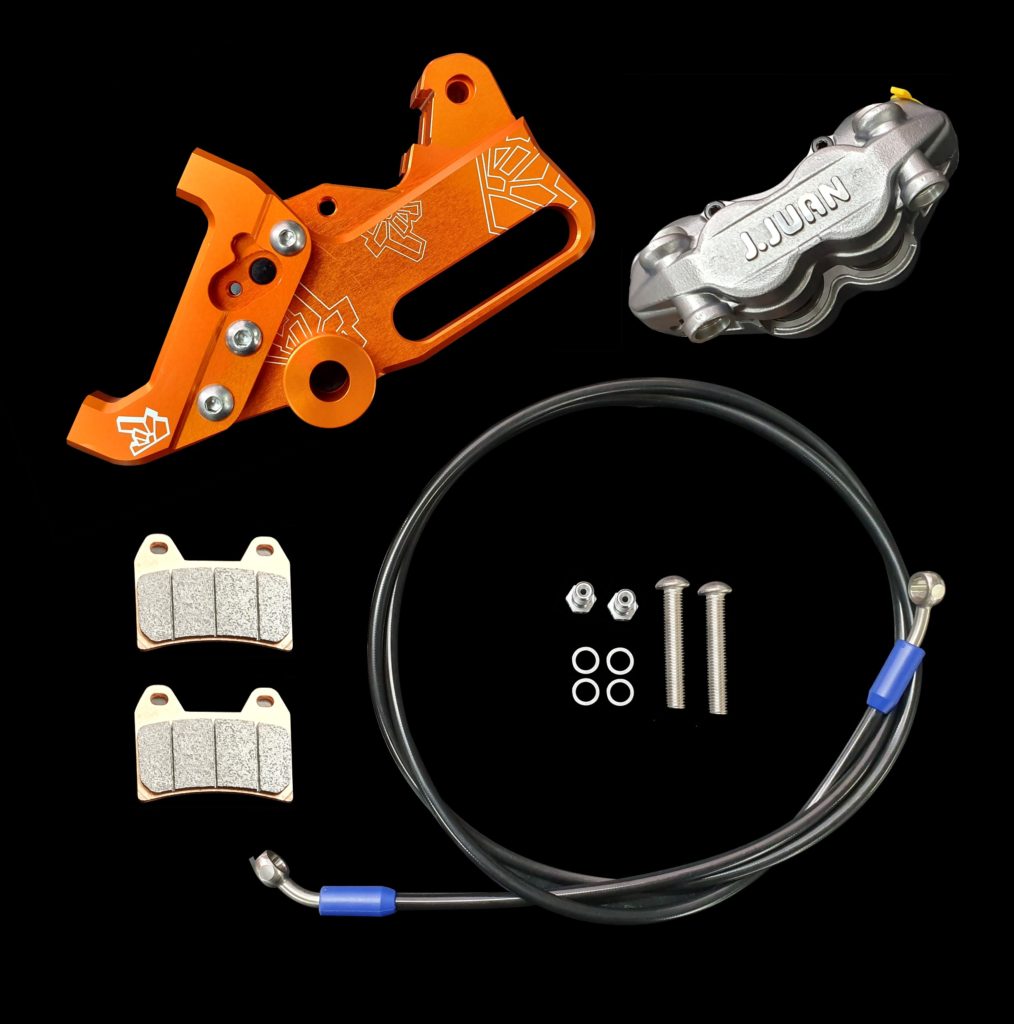
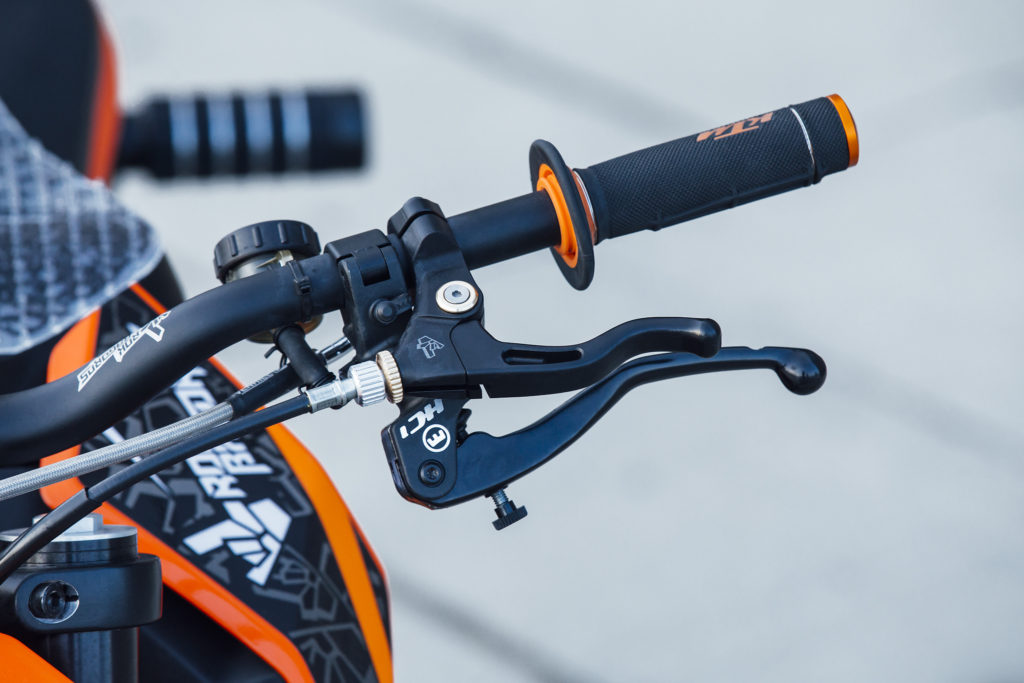
Double brake system
Why do you need that? Because you will jump around the bike while you are wheeling and your foot will not cover the footbrake anymore, so you need another brake on your hand to catch the balance.
How does this work? You will need to mount a new bracket where you can fit two brake calipers. The smaller one is connected to your foot brake and the bigger caliper is connected to your handbrake master cylinder, that is located by your left hand. I use the Magura Clutch pump 13mm as my handbrake.


Easy pull clutch ON TOP – Magura brake 13mm brake pump BELLOW
The clutch is shorter so it does not hit the finger that is at the same time on the brake.
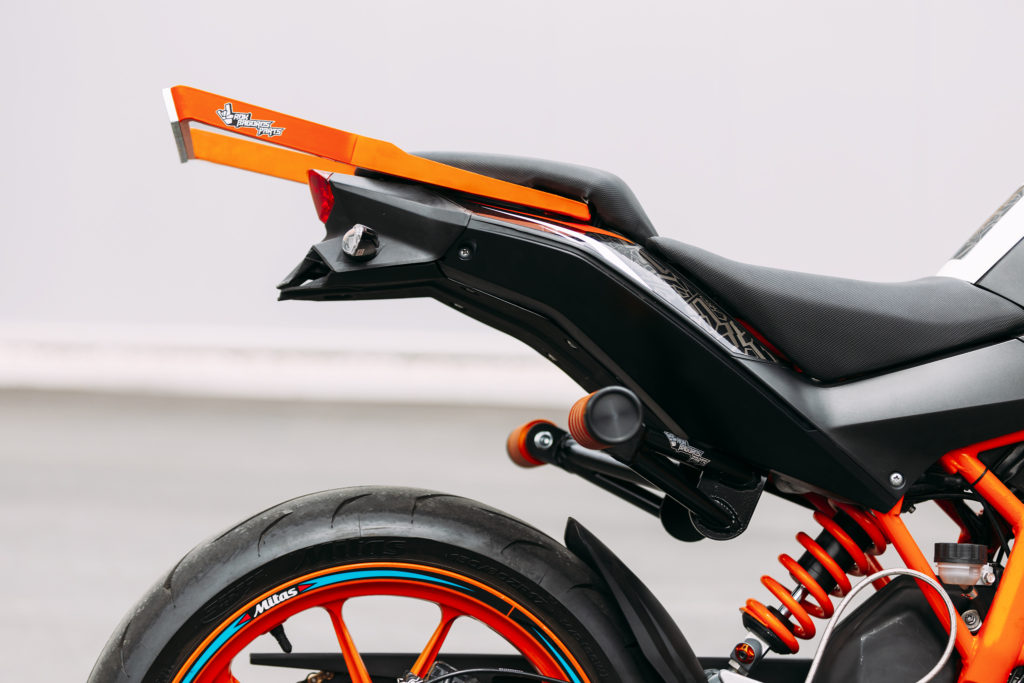
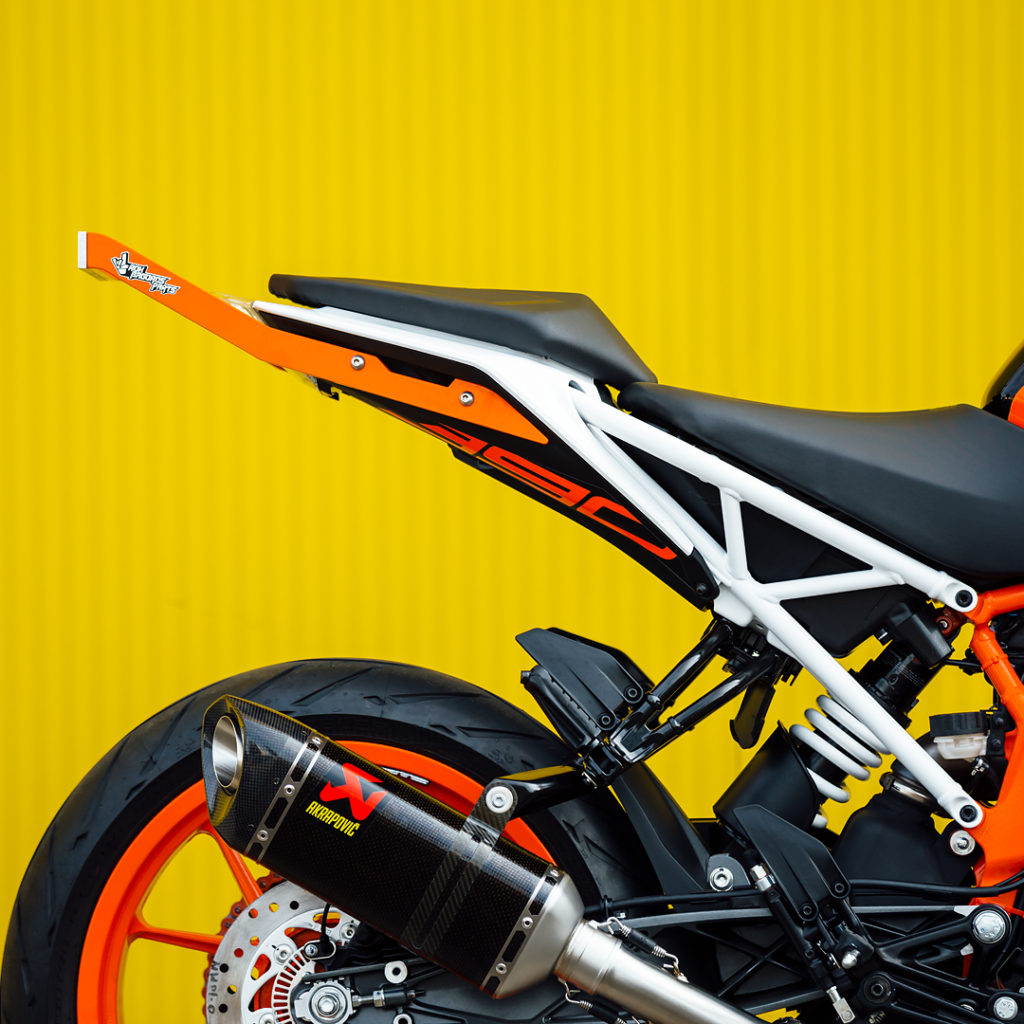
STUNT TANK
The Dukes MY 2011-2016 have a full plastic tank, so the only option to build a seat support is to build one out of fiber glass or carbon, so you can jump on it without braking the plastics bellow.
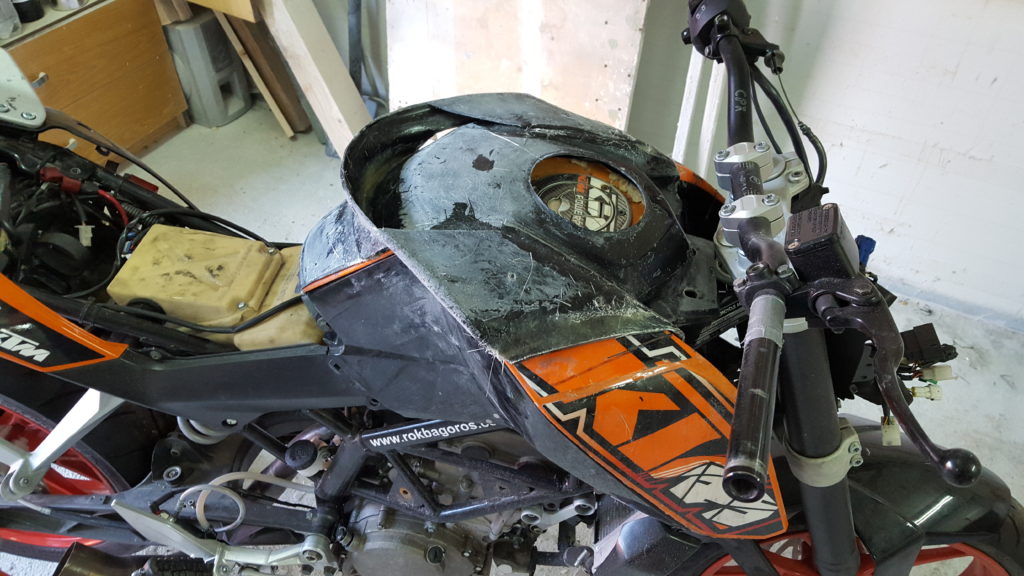
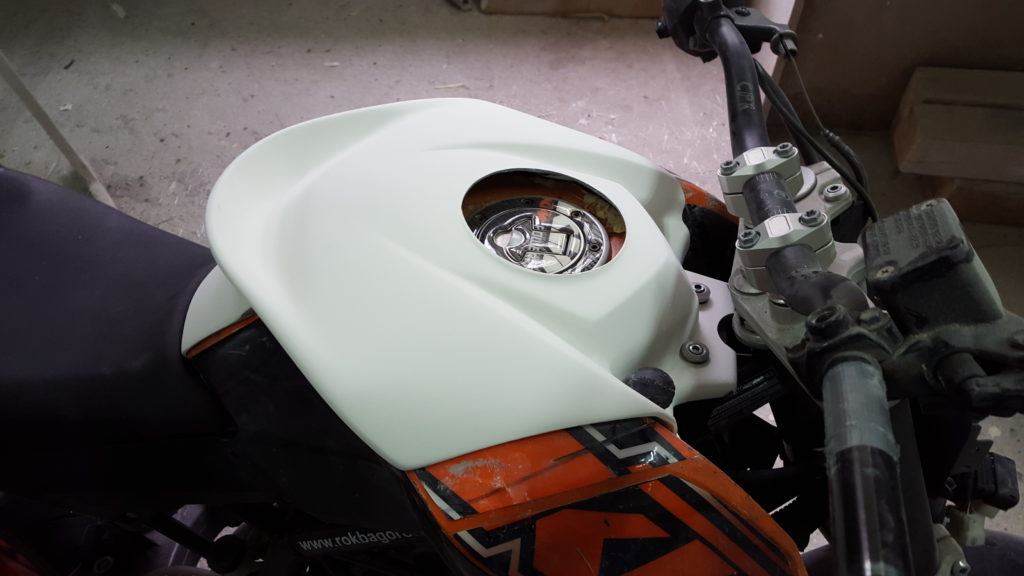
The newer Dukes from 2017 and never, have a metal tank which is easier to build.
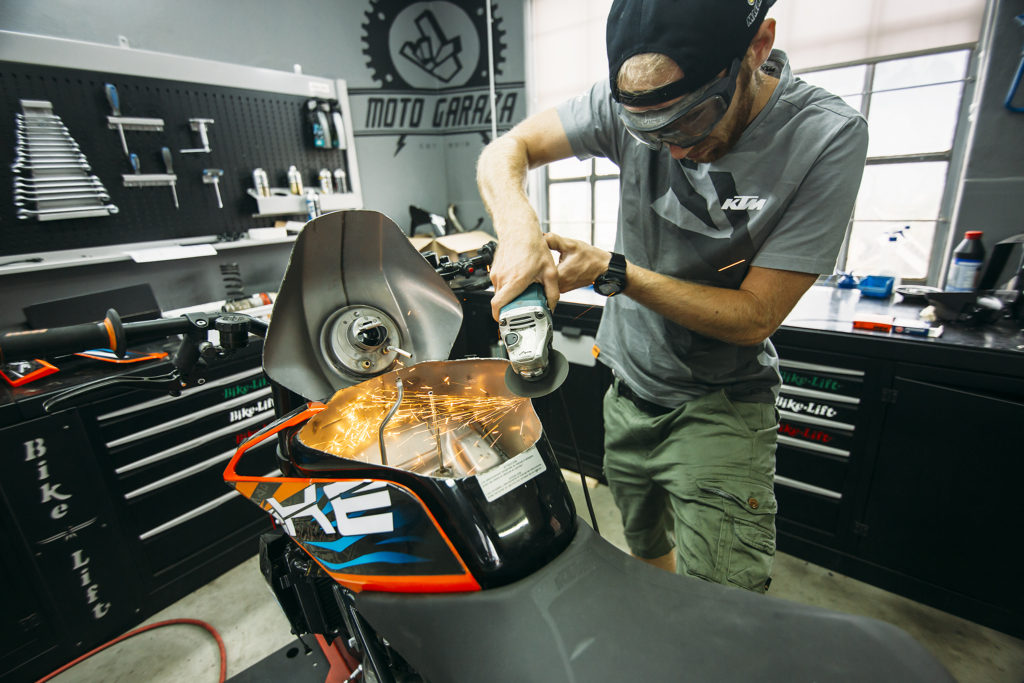
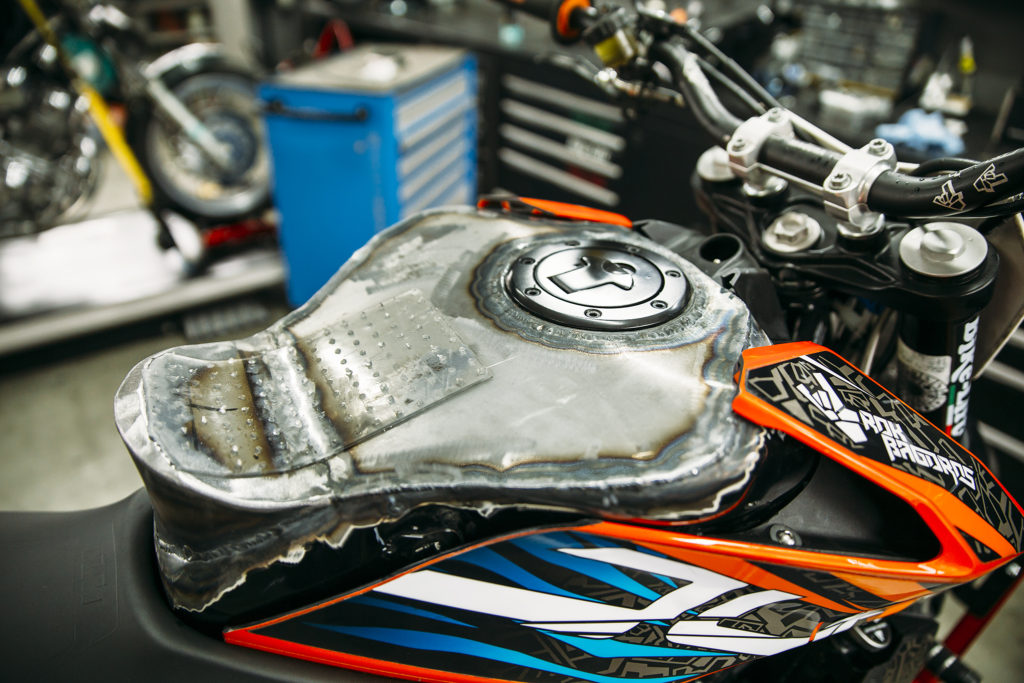
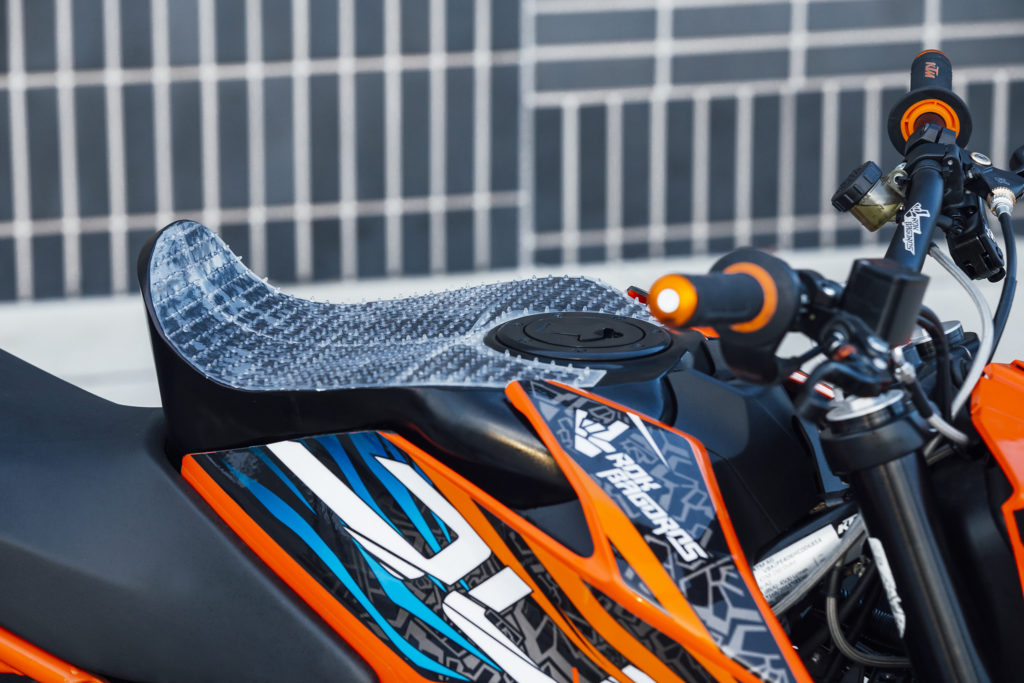
We made a full vlog about it 😉
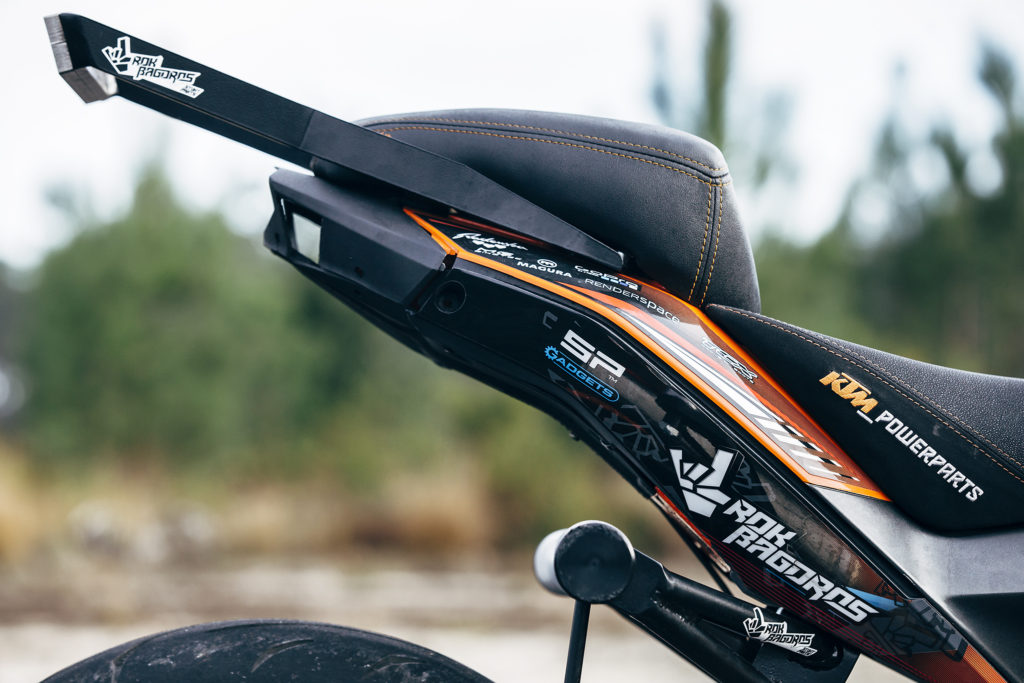
STUNT PILLION SEAT
While sitting and balancing on one wheel a good support comes in handy. We added extra cushion to my rear stock seat and made the support area bigger, so it helps you to catch balance with your bottom. Another plus point that you get with this upgrade is that you will not need to hold yourself with your hands on the bike and loose energy. You can lay back on your stunt seat, which will make your riding sessions longer and the arm pump will not come so soon. A must have on all Stage3 builds.
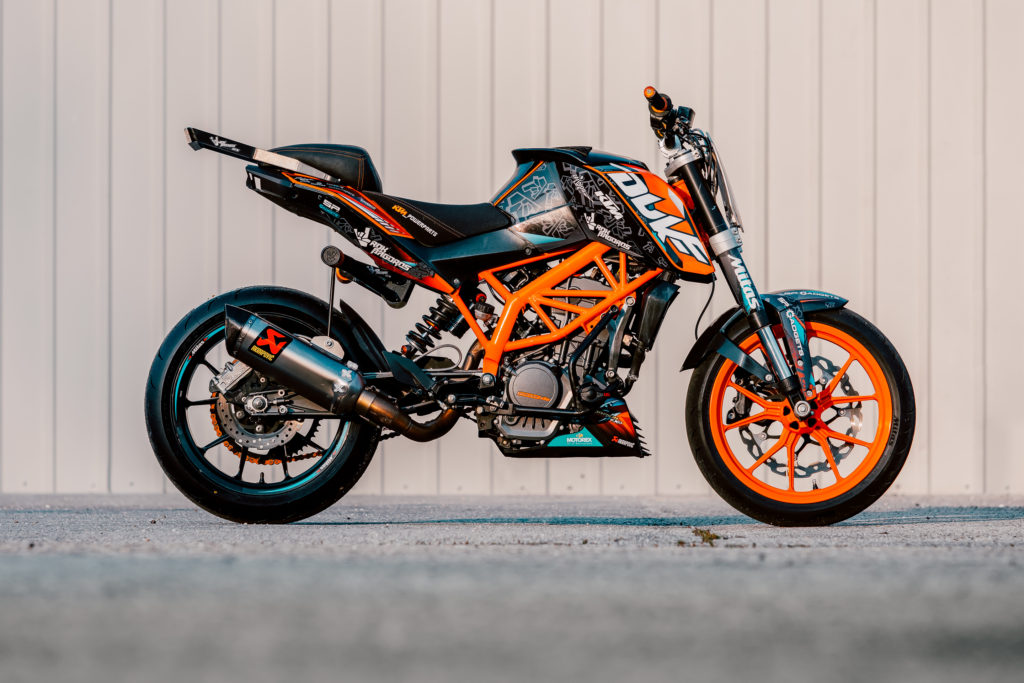
There are always some extra small details, depending on the preference of each rider. I hope I could help you out with the question of how to build a stunt bike. The KTM Duke and the RC bikes are a great platform for a stunt bike and it will set you appart from the rest and make you and your riding unique.
KTM Duke 390 MY 2011 – 2016 FULL stunt build (Stage3 – The stuntrider)
KTM Duke 390 MY 2017+ FULL stunt build (Stage3 – The stuntrider)
KTM Duke 690 MY 2012+ FULL stunt build (Stage3 – The stuntrider)

KTM RC 200/390 FULL stunt build (Stage3 – The stuntrider)

If there are any questions, drop them in the QUESTION SEGMENT bellow and I will gladly answer them!